SwiftUI animation system is simply amazing. But when using gradient fills, it is impossible to animate color change by just changing its color properties. In this article, I will present and discuss possible ways how to animate gradient fills and also address the issue with .hueRotation modifier.
Options
The urge of animating gradient fill was actually the first topic I was forced to solve when I jumped into SwiftUI. In my app, I wanted to have a gradient background that changes its color from time to time. Here are options how to animate gradient that I am aware of, the first two are very limited the latter two more robust, so choose depending on your use case
- change gradient starting and ending points
- use
.hueRotation,.saturationand.brightnessmodifiers - create AnimatableModifier
- alpha blend two gradients
Changing gradient starting and ending points
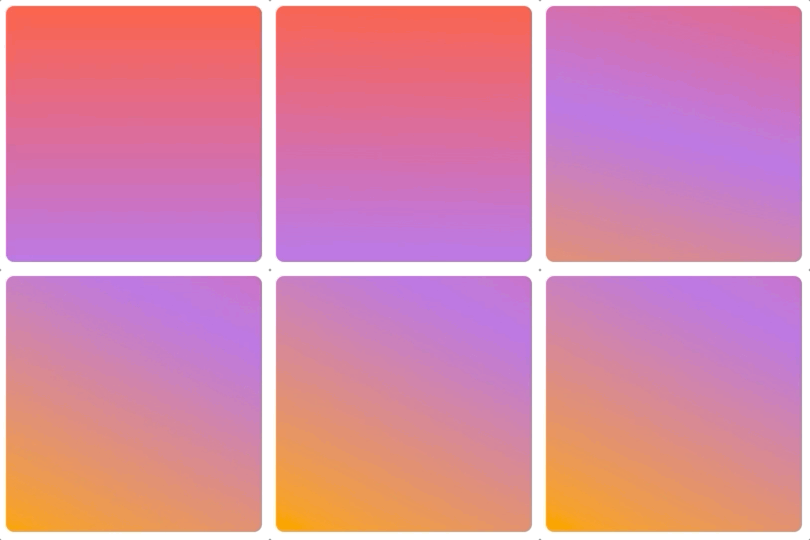
With changing gradient starting and ending points you are able to change gradient orientation and scale. Since the starting and ending point does not have to be limited to view bounds only (0..1) it is possible to stretch gradient beneath view dimension. This can be utilized for color change animation within a pre-defined color set. Better than words is to demonstrate that with example. Below you can see that I have defined gradient with three color stops and by changing starting and ending point I am performing animated color change from red->purple to purple->orange.
struct AnimatedGradientView1: View {

    @State var gradient = [Color.red, Color.purple, Color.orange]
    @State var startPoint = UnitPoint(x: 0, y: 0)
    @State var endPoint = UnitPoint(x: 0, y: 2)

    var body: some View {
        RoundedRectangle(cornerRadius: 8)
            .fill(LinearGradient(gradient: Gradient(colors: self.gradient), startPoint: self.startPoint, endPoint: self.endPoint))
            .frame(width: 256, height: 256)
            .onTapGesture {
                withAnimation (.easeInOut(duration: 3)){
                    self.startPoint = UnitPoint(x: 1, y: -1)
                    self.endPoint = UnitPoint(x: 0, y: 1)
                }
        }
    }
}
Using hueRotation modifier
Using .hueRotation is the easiest way of gradient alterations. It offers animations in a whole variety of color hues but does not let you change color randomly.
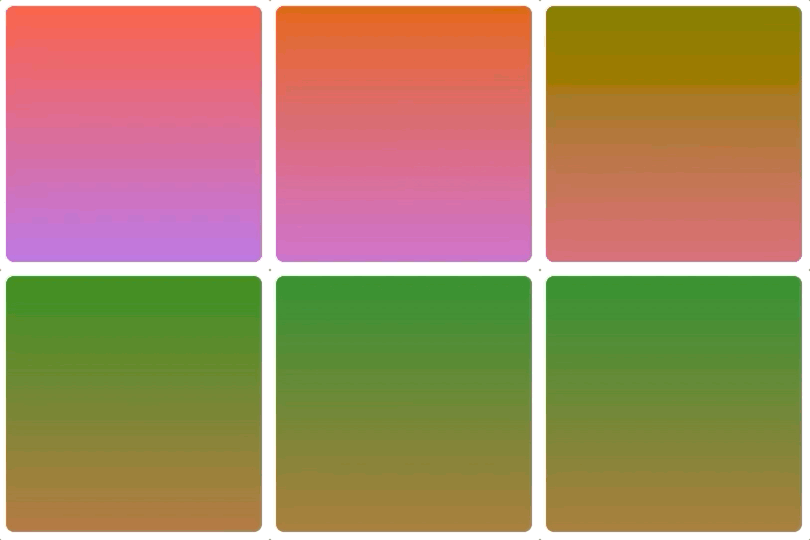
More color changes can be achieved by combination with other modifiers like .brightness or .saturation, but they still reflect the source colors and their mutual difference. Next example features usage of hueRotation modifier together with decreasing saturation.
struct AnimatedGradientView2: View {

    @State var gradient = [Color.red, Color.purple]
    @State var hueRotationValue = 0.0
    @State var saturationValue = 1.0

    var body: some View {
        RoundedRectangle(cornerRadius: 8)
            .fill(LinearGradient(gradient: Gradient(colors: self.gradient), startPoint: UnitPoint(x: 0, y: 0), endPoint: UnitPoint(x: 0, y: 1)))
            .hueRotation(Angle(degrees: self.hueRotationValue))
            .saturation(self.saturationValue)
            .frame(width: 256, height: 256)
            .onTapGesture {
                withAnimation (.easeInOut(duration: 3)){
                    self.hueRotationValue = 120
                    self.saturationValue = 0.7
                }
        }
    }
}
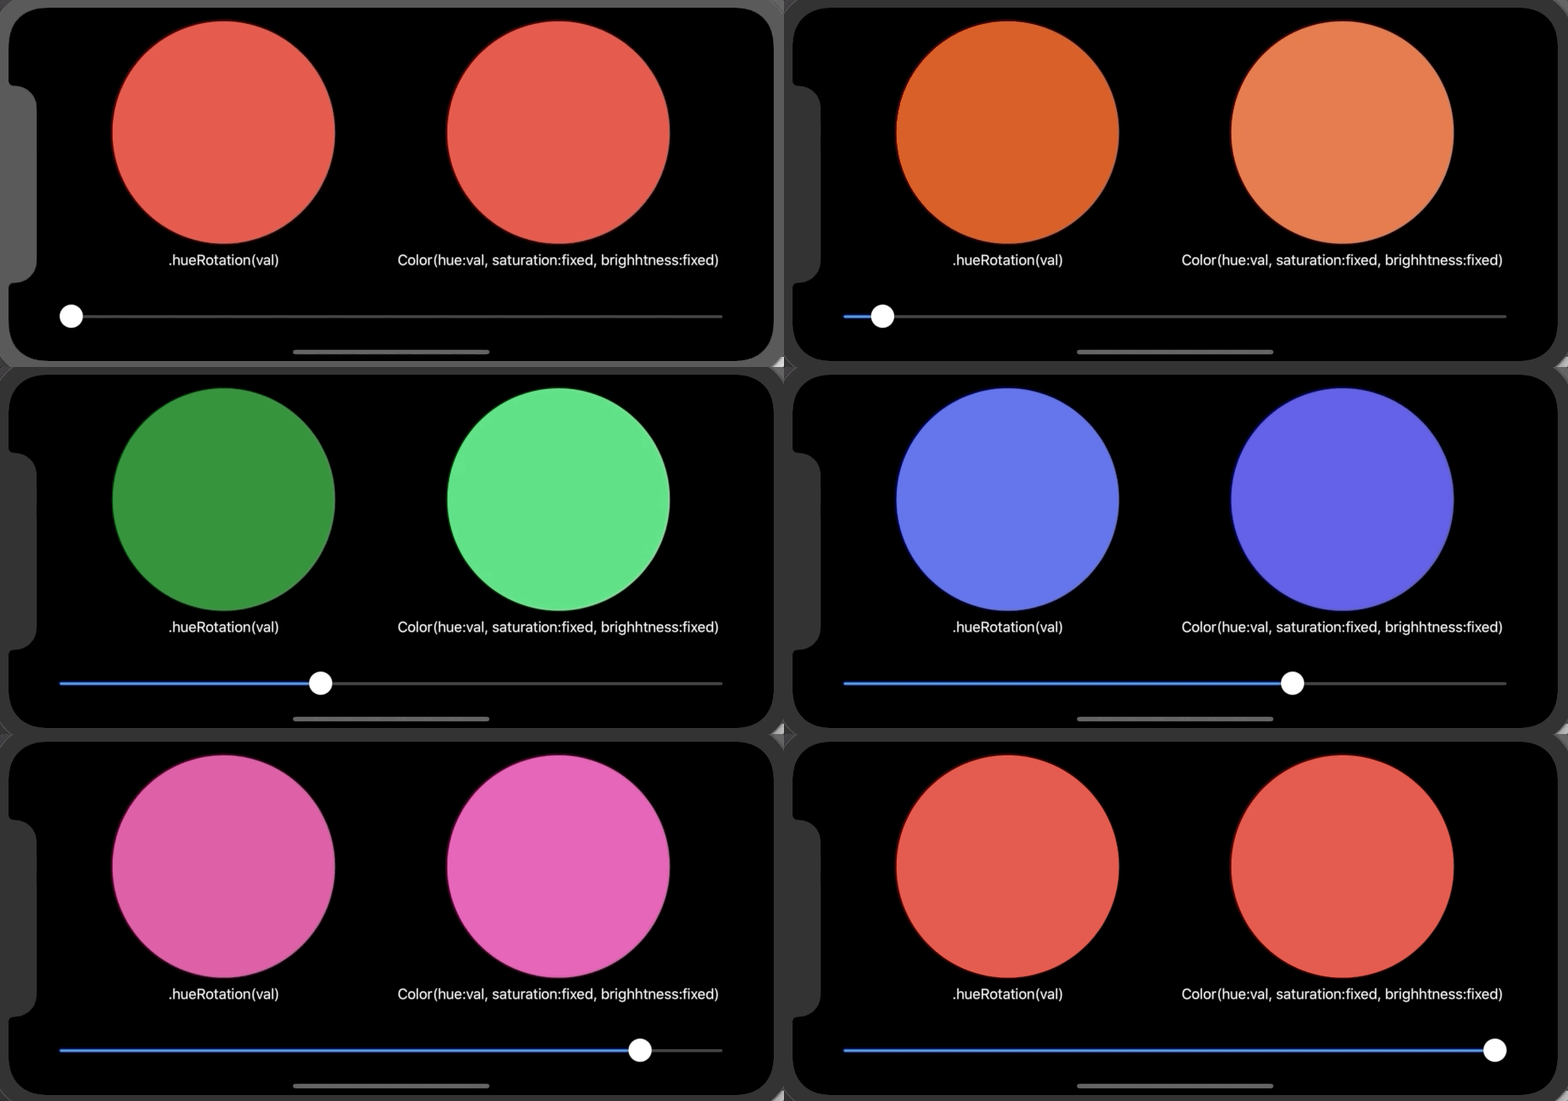
While playing with hueRotation modifiers, I have noticed that it works differently than one would expect. This modifier does not preserve brightness and saturation as it is common in graphical tools (like PS). Here you can see a comparison of results of hueRotation modifier and the expectation via constructing the color directly in HSB space. I am not sure whether this behavior is intended or not, but it is important to be aware of it the result of hueRotation may disappoint you.
Using AnimatableModifier
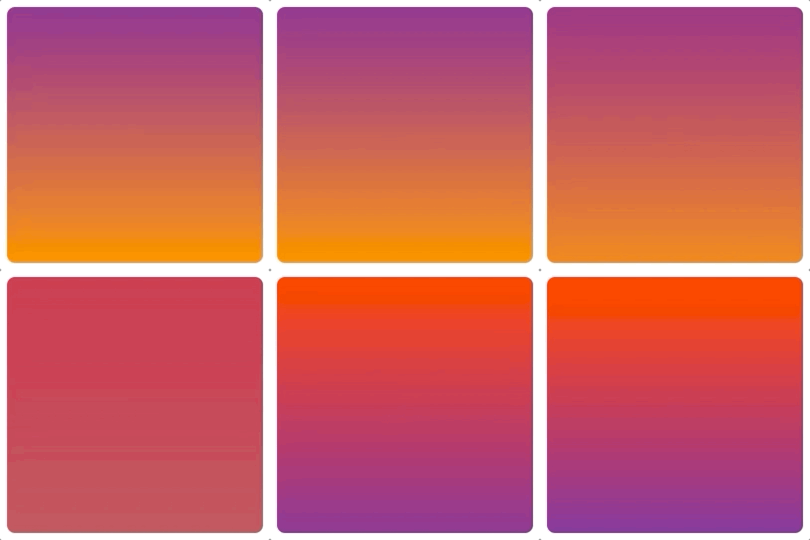
It is possible to create an animated gradient via AnimatableModifier. This approach was presented by Javier (Kudos!!) in his article at SwiftUI Lab. This approach requires the implementation of color interpolation and its usage of AnimatableModifier reminds me of GeometryEffect (which I have dedicated my previous post to). We have full control of how interpolated value is translated to the view appearance so we can reach really crazy effects like pulsating color transition. This is demonstrated on the following example where interpolation value is altered to growing sine curve according to formula x+sin(8.5Pix)*0.1

struct AnimatedGradientView3: View {
    @State var value: CGFloat = 0
    @State var gradient1 = [UIColor.red, UIColor.purple]
    @State var gradient2 = [UIColor.purple, UIColor.orange]

    var body: some View {

        Circle()
            .modifier(AnimatableGradientModifier(from: self.gradient1, to: self.gradient2, interpolatedValue: self.value))
            .onTapGesture {
                withAnimation (.easeInOut(duration: 3)){
                    if (self.value<1) {
                        // animate there
                        self.value = 1
                    }
                    else {
                        // animate back
                        self.value = 0
                    }
                }
        }
    }
}

struct AnimatableGradientModifier: AnimatableModifier {
    let from: [UIColor]
    let to: [UIColor]
    var interpolatedValue: CGFloat = 0

    var animatableData: CGFloat {
        get { interpolatedValue }
        set { interpolatedValue = newValue }
    }

    func body(content: Content) -> some View {
        var gColors = [Color]()

        for i in 0..<from.count {
            gColors.append(colorMixer(c1: from[i], c2: to[i], interpolatedValue: interpolatedValue))
        }

        return RoundedRectangle(cornerRadius: 8)
            .fill(LinearGradient(gradient: Gradient(colors: gColors),
                                 startPoint: UnitPoint(x: 0, y: 0),
                                 endPoint: UnitPoint(x: 0, y: 1)))
            .frame(width: 256, height: 256)
    }

    func colorMixer(c1: UIColor, c2: UIColor, interpolatedValue: CGFloat) -> Color {
        guard let cc1 = c1.cgColor.components else { return Color(c1) }
        guard let cc2 = c2.cgColor.components else { return Color(c1) }

        // messing with interpolated value, creating waves
        let alteredValue = sin(8.5*interpolatedValue*CGFloat.pi)*0.1 + interpolatedValue

        // computing interpolated color channels based on the value (0..1)
        let r = cc1[0]*alteredValue + cc2[0]*(1.0 - alteredValue)
        let g = cc1[1]*alteredValue + cc2[1]*(1.0 - alteredValue)
        let b = cc1[2]*alteredValue + cc2[2]*(1.0 - alteredValue)

        return Color(red: Double(r), green: Double(g), blue: Double(b))
    }
}
Please note that AnimatableModifier actually produces a view, so even that it has been applied to a circle view, our result is still a rounded rectangle.
The main drawback of this approach (IMO) is that you need to provide interpolating value to the effect and it is quite challenging to wrap everything to a simple interface with the single color setter.
Blending of two gradient layers
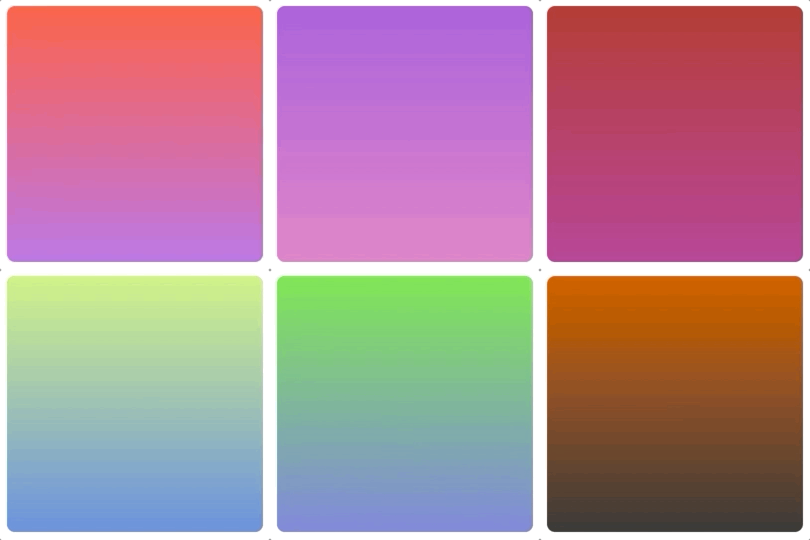
The solution that I like the most is the simple blending of two gradient layers. It is a sort of workaround but gives you the greatest freedom, it is easy to wrap with a meaningful interface and since the blending views can be actually of any type, you can even create transitions between different types of the gradient (like linear->radial) The example demonstrates this approach, color changes are random
extension Color {
    static func random()->Color {
        let r = Double.random(in: 0 ... 1)
        let g = Double.random(in: 0 ... 1)
        let b = Double.random(in: 0 ... 1)
        return Color(red: r, green: g, blue: b)
    }
}

struct AnimatedGradientView4: View {
    @State private var gradientA: [Color] = [.red, .purple]
    @State private var gradientB: [Color] = [.red, .purple]

    @State private var firstPlane: Bool = true

    func setGradient(gradient: [Color]) {
        if firstPlane {
            gradientB = gradient
        }
        else {
            gradientA = gradient
        }
        firstPlane = !firstPlane
    }

    var body: some View {
        ZStack {
            RoundedRectangle(cornerRadius: 8)
                .fill(LinearGradient(gradient: Gradient(colors: self.gradientA), startPoint: UnitPoint(x: 0, y: 0), endPoint: UnitPoint(x: 0, y: 1)))
            RoundedRectangle(cornerRadius: 8)
                .fill(LinearGradient(gradient: Gradient(colors: self.gradientB), startPoint: UnitPoint(x: 0, y: 0), endPoint: UnitPoint(x: 0, y: 1)))
                .opacity(self.firstPlane ? 0 : 1)
        }
        .frame(width: 256, height: 256)
        .onTapGesture {
            withAnimation(.spring()) {
                self.setGradient(gradient: [Color.random(), Color.random()])
            }
        }
    }
}
Did you like this article?
Feel free to comment or criticize so the next one is even better. Or share it with other SwiftUI adopters ;)
